Key Takeaways
- Installing a dash cam involves choosing the right mounting position, connecting the power cable, routing the wire neatly, securing the setup, and testing the recording before driving.
- 12V socket setup works best for simplicity, while hardwiring suits drivers who want cleaner interiors and parking mode support.
- Safe installation depends on keeping the camera out of the driver’s view and routing wires away from airbags, pedals, and moving parts.
- With proper planning, both front and rear dash cams can be installed at home.
- Clean positioning, correct angle adjustment, and proper testing matter just as much as powering the camera on.
How Do You Install a Dash Cam?
Dash cam installation follows a simple sequence when approached correctly. The process begins with positioning, moves into mounting and wiring, and ends with testing and adjustment.
Here is the quick step-by-step process:
- Choose the mounting position. The high windshield position near the rearview mirror gives the clearest forward view without affecting visibility.
- Clean the glass and mount the camera. Clean surfaces improve grip and help the mount stay secure over time.
- Connect the power cable. Attach the cable to the camera before routing it through the interior.
- Hide the wire neatly. Routing along the headliner and trim keeps the setup clean and unobtrusive.
- Connect the power source. 12V socket provides an easy setup, while hardwiring creates a more permanent solution.
- Adjust the camera angle. Centered road view with a level horizon ensures usable footage.
- Test the recording. Proper power, recording, and storage should all be verified before regular use.
This sequence covers the full installation logic in a simplified form. Each section below expands specific parts of the process.
Where Is the Best Place to Install a Dash Cam?
High windshield positions near the rearview mirror provides the best balance between visibility and coverage. That location keeps the camera discreet while still capturing a wide road view.
Rear placement works best on the upper section of the rear windshield. Clear visibility behind the vehicle matters more than symmetry, so avoid areas blocked by tint, trim, or interior accessories.
Placement also affects stability and wire routing. A well-chosen position reduces vibration, simplifies cable management, and keeps the driver’s field of view unobstructed.
What Do You Need Before Installing a Dash Cam?
Preparation reduces installation errors and unnecessary adjustments. Having all components ready ensures a smoother and faster setup process.
Essential Tools and Accessories
Typical setup includes the dash cam, power cable, mounting system, and a memory card ready for use. Supporting tools such as a microfiber cloth, trim tool, cable clips, and zip ties help achieve a cleaner result.
Rear camera setups require additional checks. Testing both camera units and the connecting cable early prevents rework later.
Mount Types: Adhesive vs Suction Cup
Adhesive mounts provide stronger long-term stability and maintain their hold under heat and vibration. More seamless appearance also comes from the way adhesive mounts sit flush against the glass.
Suction mounts offer flexibility and easy repositioning. Over time, however, heat and surface conditions may reduce their grip.
When Is a Hardwiring Kit Required?
Hardwiring becomes necessary when connecting the dash cam directly to the fuse box instead of using a socket. Parking mode and cleaner interiors are the main reasons for choosing this setup.
Direct connection to the vehicle’s electrical system requires more attention. Proper installation ensures stable power and avoids electrical issues.
How Do You Install a Dash Cam Using the 12V Socket?
12V socket installation remains the most accessible method for beginners. Simplicity and minimal tools make it a practical starting point.
Step 1: Clean the Mounting Area
Clean windshield surface improves adhesion and prevents early detachment. Dust or residue can weaken the mount over time.
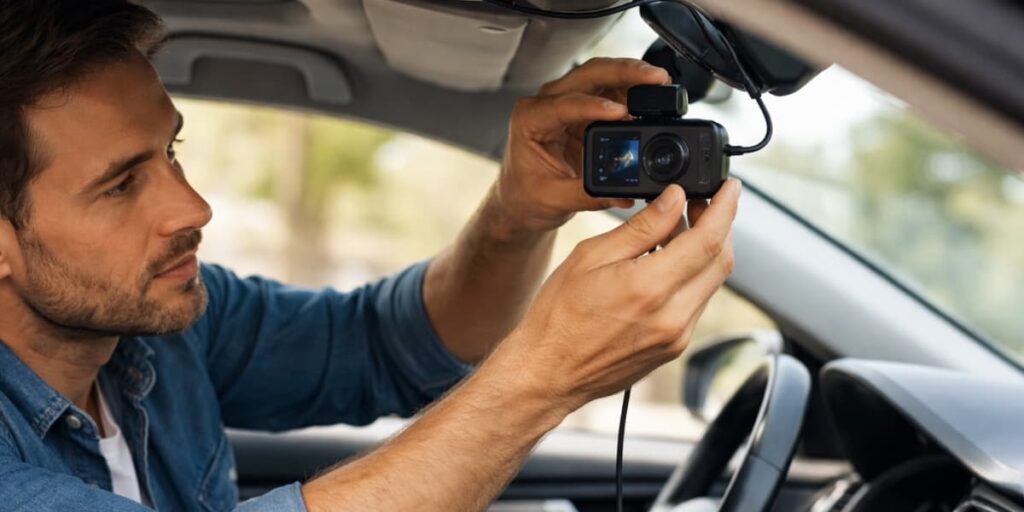
Step 2: Mount the Front Dash Cam
Positioning near the rearview mirror keeps the camera discreet and effective. Lens alignment should be checked before final placement.
Step 3: Connect the Power Cable
Cable connection comes next, with slight slack left near the port. This prevents strain once the wire is routed and secured.
Step 4: Route the Cable Along the Top Edge
The headliner gap provides a natural path for hiding the wire. Gentle pressure keeps the cable in place without damaging the trim.
Step 5: Guide the Cable Down the Side
Side trim offers a clean vertical route toward the dashboard. Careful placement avoids pinching or bending the cable.
Step 6: Plug Into the 12V Socket
Secure connection to the socket ensures consistent power. Engine start should trigger automatic camera activation.
Step 7: Check the Recording
Recording status, framing, and clarity should all be verified through a short test clip. Adjustments at this stage prevent future issues.
How Do You Hide Dash Cam Wires Cleanly?
Wire management determines both safety and visual quality. Clean installation reduces distractions and improves durability.
Routing Through the Headliner
Upper windshield’s edge creates an ideal path for hiding cables. Tucking the wire into the headliner keeps it invisible and close to the glass.
Smooth routing along this edge also simplifies transitions toward the side trim. Clean alignment here improves the overall finish.
Running Cable Past the A-Pillar Safely
The A-pillar area requires careful attention due to airbag placement. Incorrect routing can interfere with deployment.
Safe routing follows existing trim paths instead of crossing airbag components. Vehicle manuals can provide additional clarity when needed.
Securing Wires With Trim and Clips
Cable clips, trim gaps, and zip ties help secure excess wiring. Stability prevents movement, noise, and long-term wear.
A properly secured cable system improves both safety and maintenance. Future adjustments become easier when wires are organized.
How Do You Hardwire a Dash Cam?
Hardwiring creates a permanent and cleaner setup. Continuous power and parking mode support make it a preferred option for advanced users.
Locating the Fuse Box
Interior fuse box is usually located under the dashboard or behind a side panel. Accessing the correct panel simplifies the process.
Clear visibility and workspace organization reduce mistakes during installation. Proper identification of fuse slots is essential.
Choosing the Right Fuse
Fuse selection depends on power behavior requirements. Switched fuses activate with ignition, while constant fuses support continuous operation.
Add-a-fuse connectors provide safer and more reliable connections than direct wire insertion. Stability is critical for long-term performance.
Connecting the Ground Wire Safely
Solid metal grounding point ensures consistent power delivery. Chassis bolts commonly serve as effective grounding locations.
Loose or weak grounding leads to instability and malfunction. Secure attachment prevents power interruptions.
How Do You Install a Rear Dash Cam?
Rear camera installation extends coverage and enhances recording reliability. Additional cable routing makes the process slightly more complex.
Rear Camera Placement
Upper rear windshield positioning provides the clearest rear view. Obstructions such as tint bands or trim should be avoided.
Balanced framing improves footage usability. Roads should remain the primary focus of the camera.
Routing Cable From Rear to Front
Hidden routing through headliner and trim maintains a clean interior. Careful movement through tight spaces prevents cable damage.
Gradual placement ensures better alignment and reduces stress on connectors. Clean routing improves longevity.
Managing Excess Cable
Extra cable should be coiled and secured behind trim. Loose wiring near moving parts creates safety risks.
Stable cable management prevents rattling and accidental disconnection. Testing both cameras confirms a complete setup.
Mistakes to Avoid During Dash Cam Installation
Installation quality directly affects safety. Poor decisions during setup can create unnecessary risks.
Avoid these common mistakes:
- Low mounting position. Reduced visibility can distract the driver.
- Airbag interference. Incorrect routing may affect deployment.
- Loose cable placement. Hanging wires create hazards near controls.
- Weak mounting surfaces. Instability leads to poor footage and detachment.
- Incorrect fuse selection. Electrical inconsistency affects performance.
- Skipping testing. Unverified setups often fail in real situations.
Safe installation prioritizes stability, visibility, and secure wiring. Every component should support consistent operation.
How Do You Test a Dash Cam After Installation?
Once installation is finished, testing confirms that the dash cam is ready for real use. Even a clean-looking setup should never be considered complete until it has been checked properly.
Power and Recording Check
Start the vehicle or activate the power source and confirm that the dash cam powers on correctly. Then verify that recording begins and the memory card is detected as expected.
Camera Angle Adjustment
Next, review the live view or a saved clip to see whether the road is centered. Level horizon and balanced frame will usually show that the angle is correct.
App or Connectivity Setup
If your model uses Wi-Fi, Bluetooth, or a companion app, connect it and make sure the settings open correctly. From there, you can verify the time, resolution, sensitivity, and clip storage options.
Parking Mode Verification
For hardwired setups, turn off the vehicle and check whether the dash cam enters the correct standby or monitoring state. If parking mode does not activate, review the fuse selection and hardwiring setup.
FAQs
Can I install a dash cam without hardwiring?
Yes, most dash cams can be installed with the included power cable and a 12V socket adapter. For everyday driving, that is usually the easiest method.
Is it legal to place a dash cam on the windshield?
In many places, yes, but the camera must not block the driver’s view. Since local rules vary, check the final mounting position carefully.
How do I hide dash cam wires without removing panels?
Usually, the cable can be tucked into the headliner edge, trim gaps, and weather stripping using gentle pressure or a trim-safe tool. Major disassembly is often unnecessary for a clean result.
Can I install front and rear dash cams by myself?
Yes, many drivers handle both cameras at home by planning the cable route carefully and working slowly. Rear installation mainly adds more routing time and cable management.
Why is my parking mode not working after installation?
Most parking mode problems come from incorrect hardwiring or fuse selection. Checking the power source, the hardwiring kit connection, and the camera settings usually helps identify the issue.
Final Thoughts
Installing a dash cam becomes much easier when the main process is answered first and every supporting step follows in the right order. With the camera mounted correctly, the wire routed neatly, and the recording tested properly, the setup is ready for daily use.
Better footage, fewer distractions, and stronger long-term performance all come from a clean installation. Done properly, a dash cam becomes more than a basic accessory and turns into a dependable driving tool.
